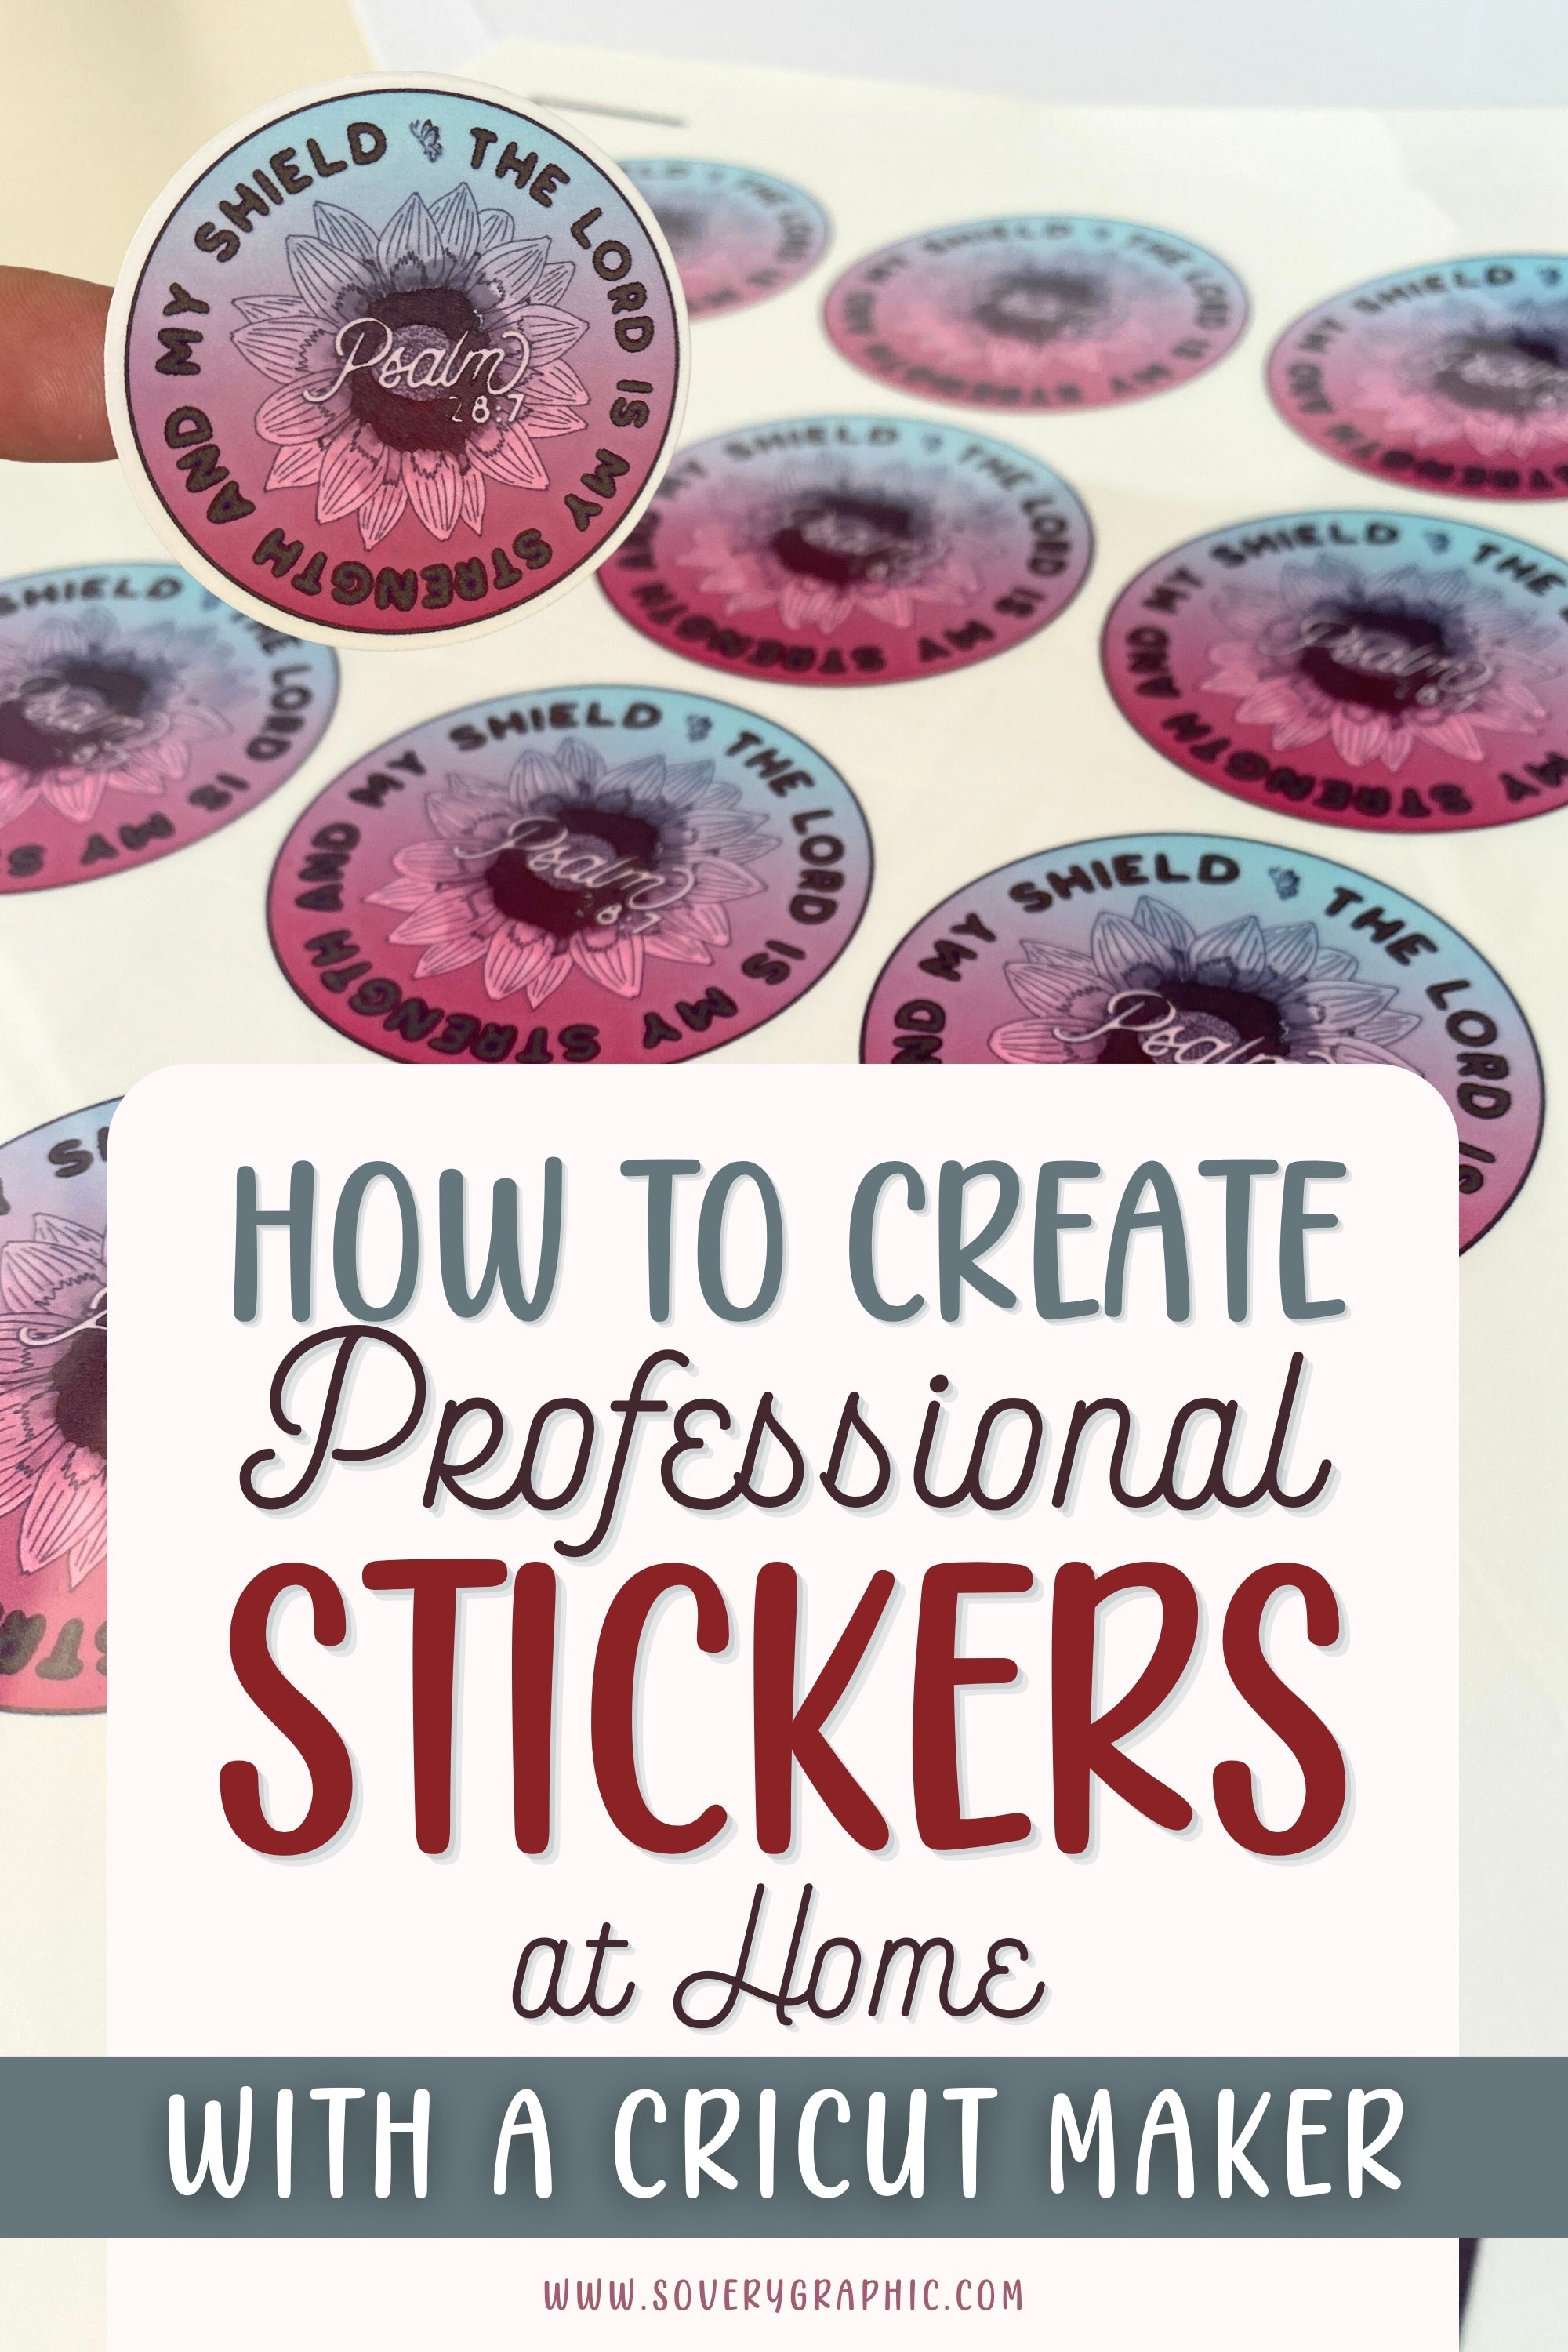
How to Create Professional Stickers at Home with a Cricut Maker
Want to sell your DIY stickers? Learn How to Create Professional Stickers at Home with Cricut Maker.
With the Create Sticker feature, Cricut Access subscribers can easily make professional looking stickers at home. This makes the process of making Print Then-Cut stickers quicker and simpler.
Unlike vinyl decals, which are cut directly from vinyl material, Print Then-Cut stickers are first printed on a home printer and then cut using a Cricut machine.

What is Create Sticker?
Create Sticker is a new feature for Cricut Access subscribers. It helps you make your own stickers really easily and the best part: You no longer need to Offset, Flatten, or Attach!
Best Sticker Material for Professional Looking Stickers at Home
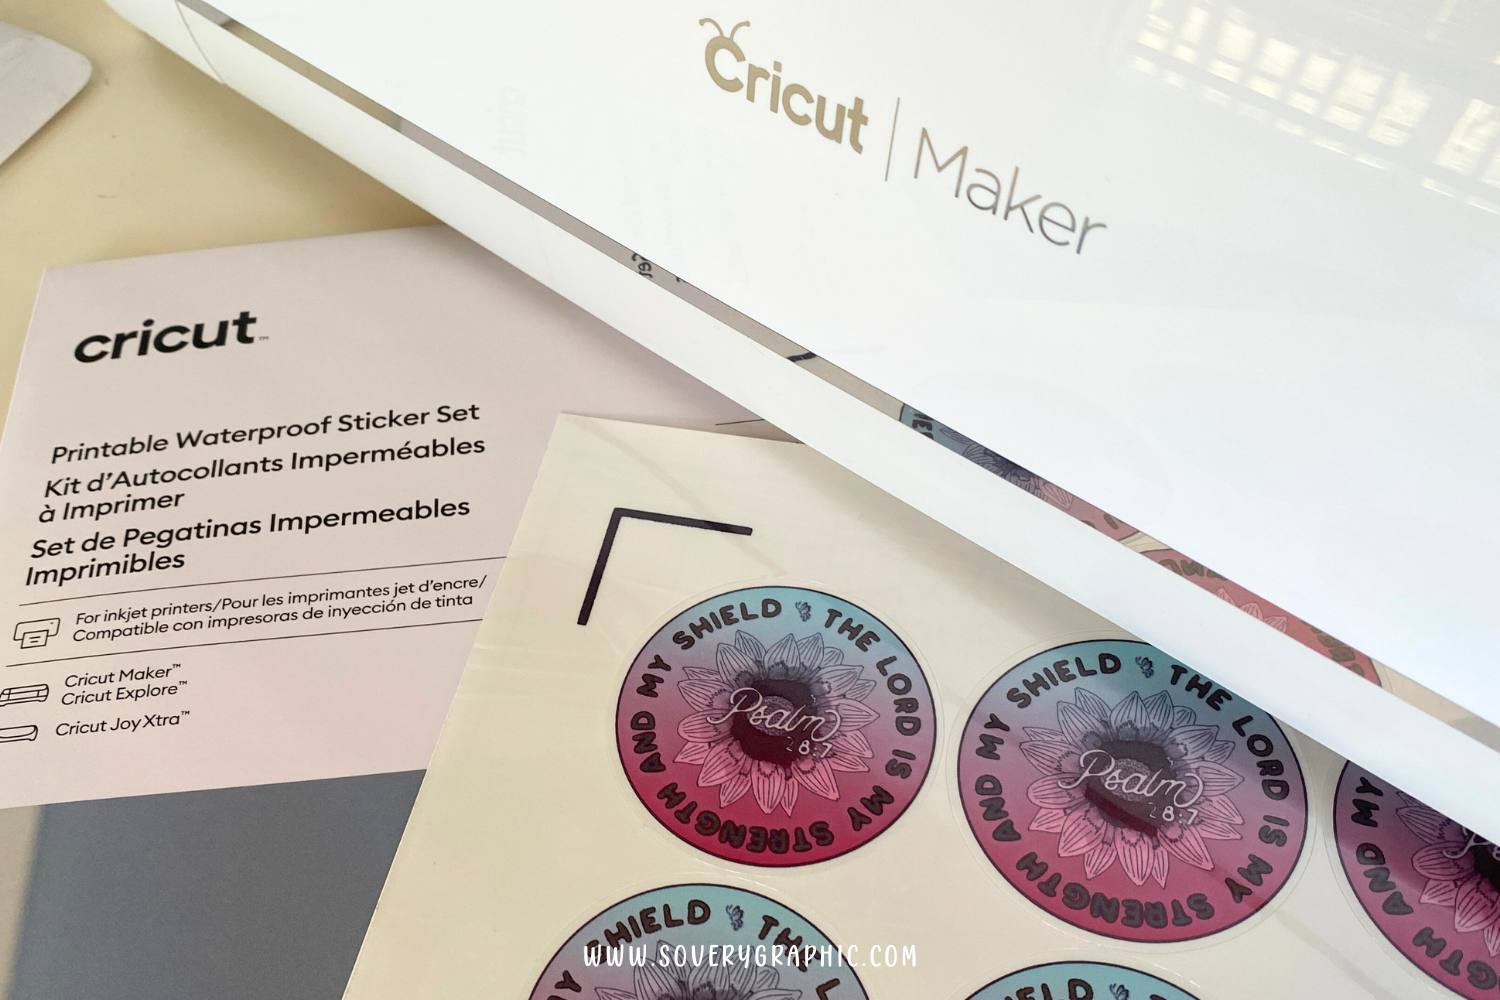
I prefer using Cricut printable sticker sheets because they consistently deliver professional-looking results. For this project, I used the Cricut Printable Waterproof Sticker Set, which is a white vinyl sheet with a laminate top sheet.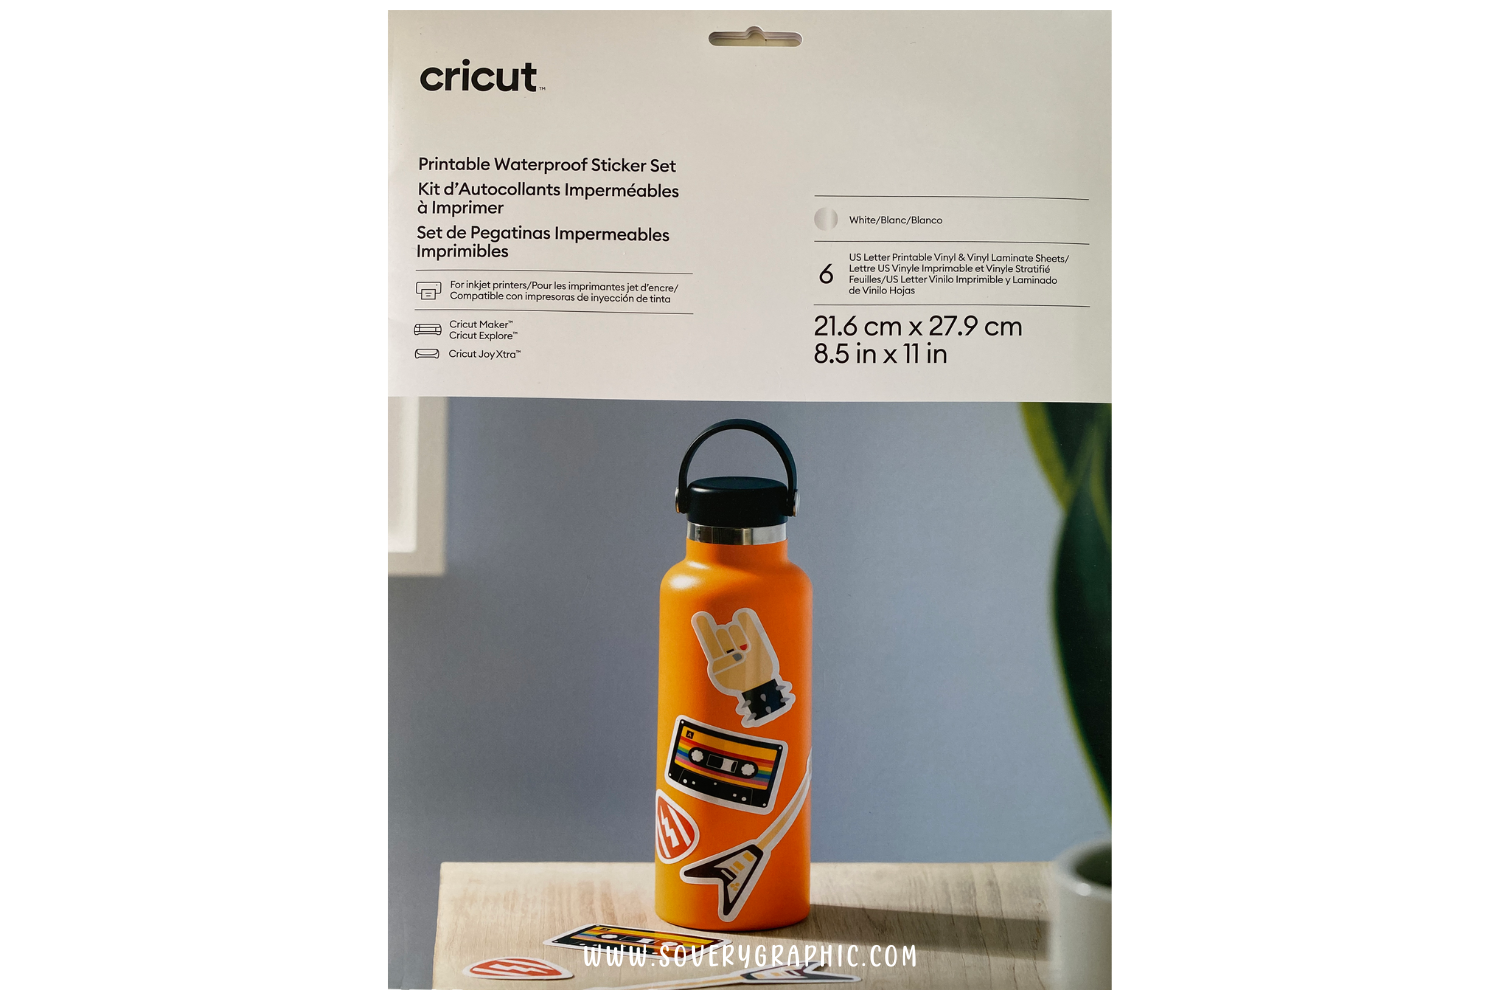
Using Create Sticker in Cricut Design Space
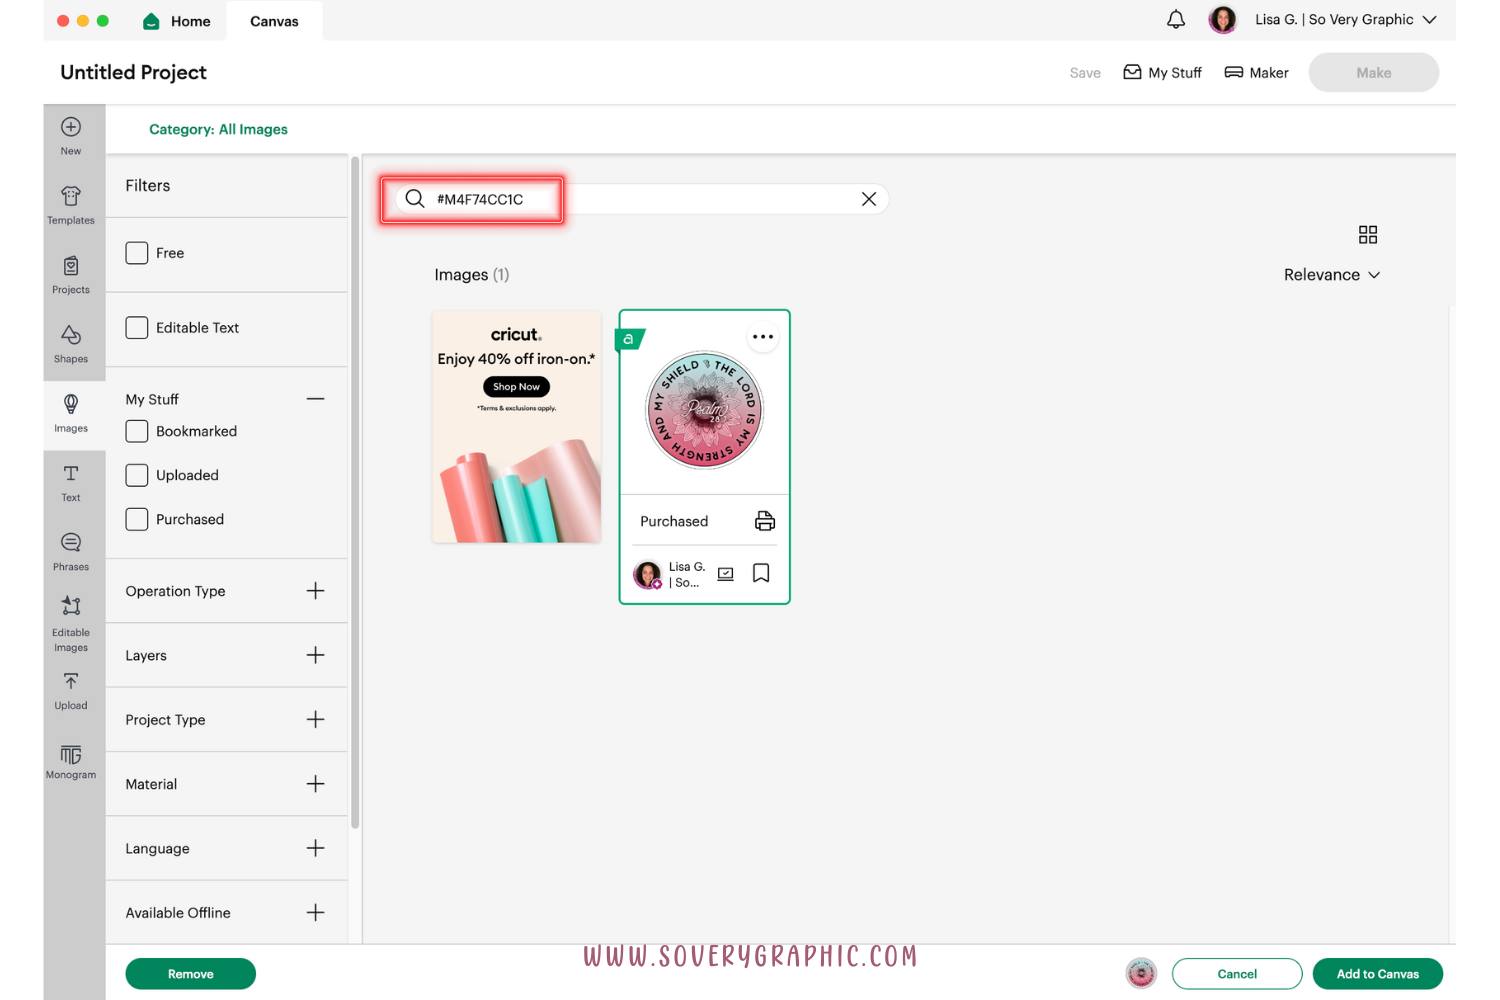
Upload your design onto the Canvas. You can find my Psalm 28:7 sticker design project in the Cricut Design Library HERE. You can also search for design #M4F74CC1C if you're a Cricut Access member.
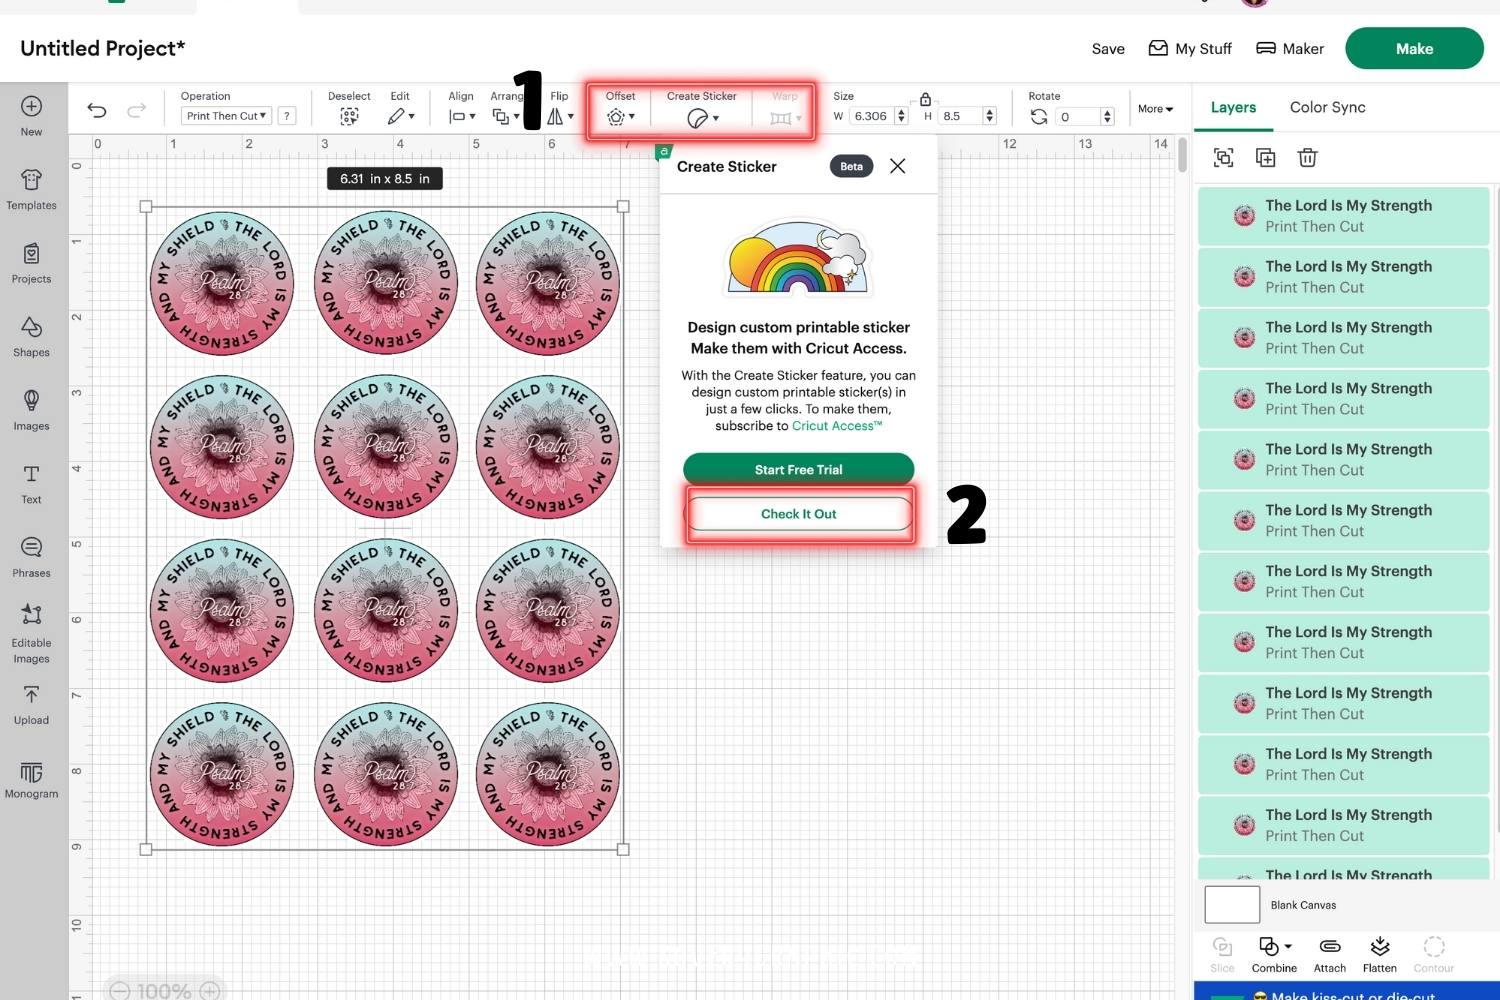
Resize your design & click Create Sticker
The Create Sticker option is only available for use with a Cricut Access subscription but it can be previewed for free. To try-it-before-you-buy-it, click Create Sticker and choose Check It Out.
Choose Die-cut or Kiss-cut
What is the difference between a kiss-cut and a die-cut?
Kiss-cut cuts around your design through the sticker material only, leaving the backer intact so you end up with a full sheet of stickers.
Die-cut cuts around your design all the way through both the sticker material and liner.
Make Kiss-Cut Stickers with your Cricut
Create a whole page of stickers using the kiss-cut option, which cuts the sticker paper precisely to keep the backing intact, keeping all the stickers together for future use.
Make Die-Cut Stickers with your Cricut
If you want to cut out individual stickers, choose the die-cut setting. You can also use the toggle option to create an easy-peel border around your stickers.
Border or No Border
Choose an outline for your sticker design: None, Thin, Standard, Wide or Custom.
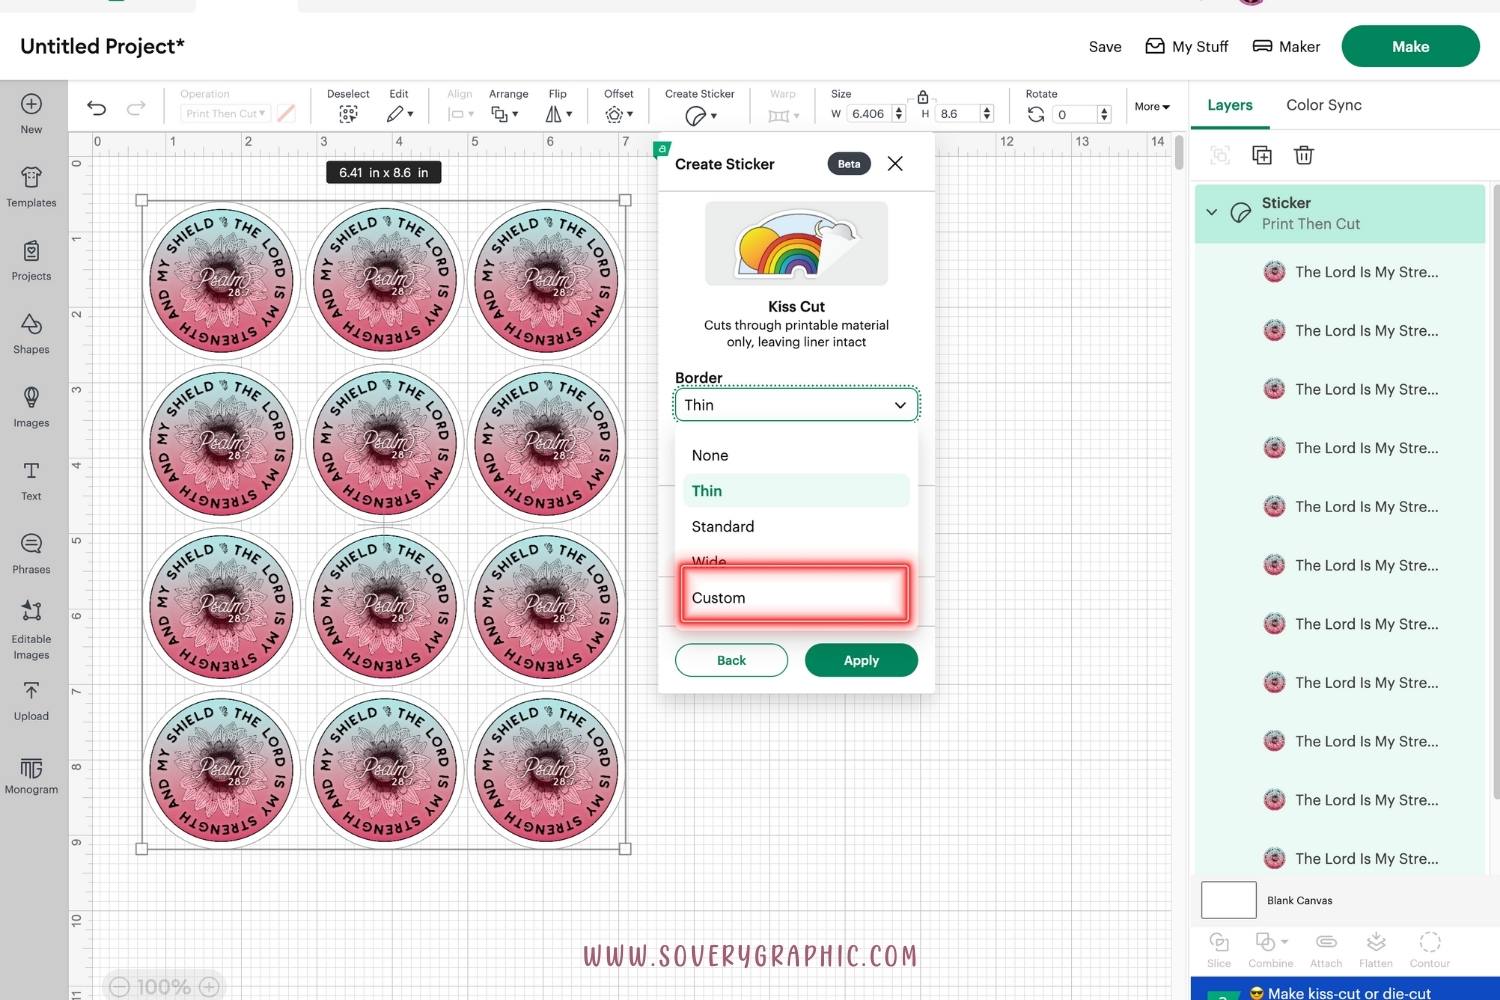
I want my stickers to have a white background, which is the color of the Cricut Printable Waterproof Sticker Vinyl. You can choose any color by clicking the + sign.
Adjust All Stickers at Once
Modify the settings for all sticker designs simultaneously by selecting all the images, adjusting your Create Sticker settings, and the changes will be applied to all your stickers.
Click Apply
Now it’s time to cut your stickers. Click Make It and if you have a Cricut Access subscription, you can proceed with project.
The Create Sticker feature is reserved for Cricut Access subscribers. Anyone can experiment with and preview the tool, but activating the "Make It" feature on your project requires a subscription to Cricut Access.
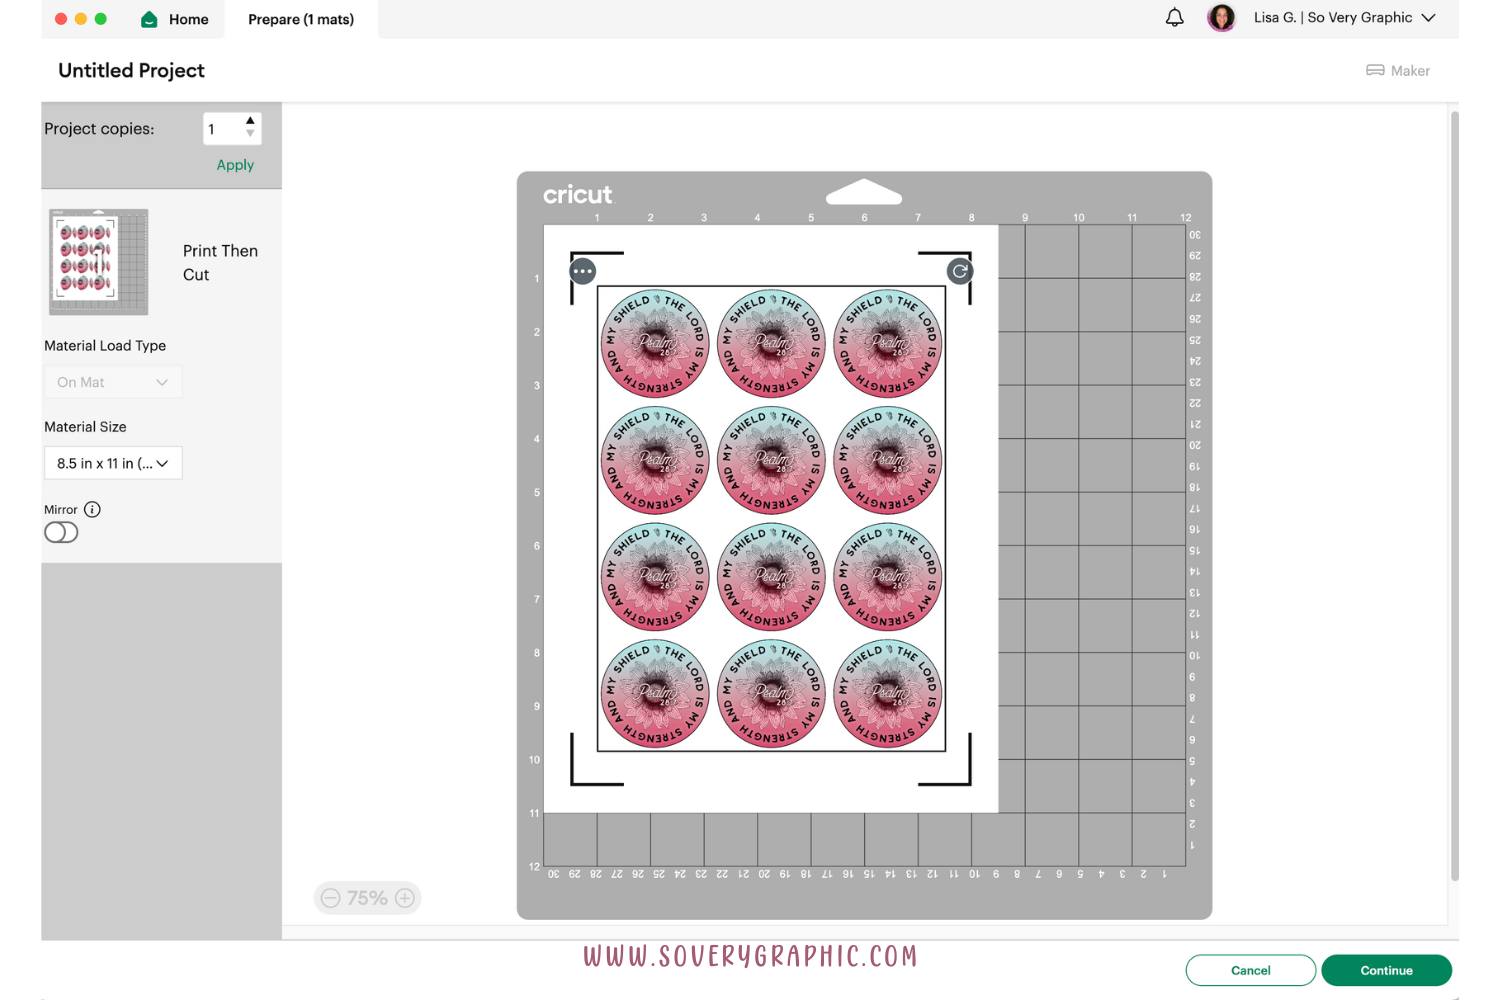
Now it's time to send to your printer. Toggle on the Use System Dialog option and select your paper & quality. I use Glossy Paper with Best Quality with my Epson inkjet printer.
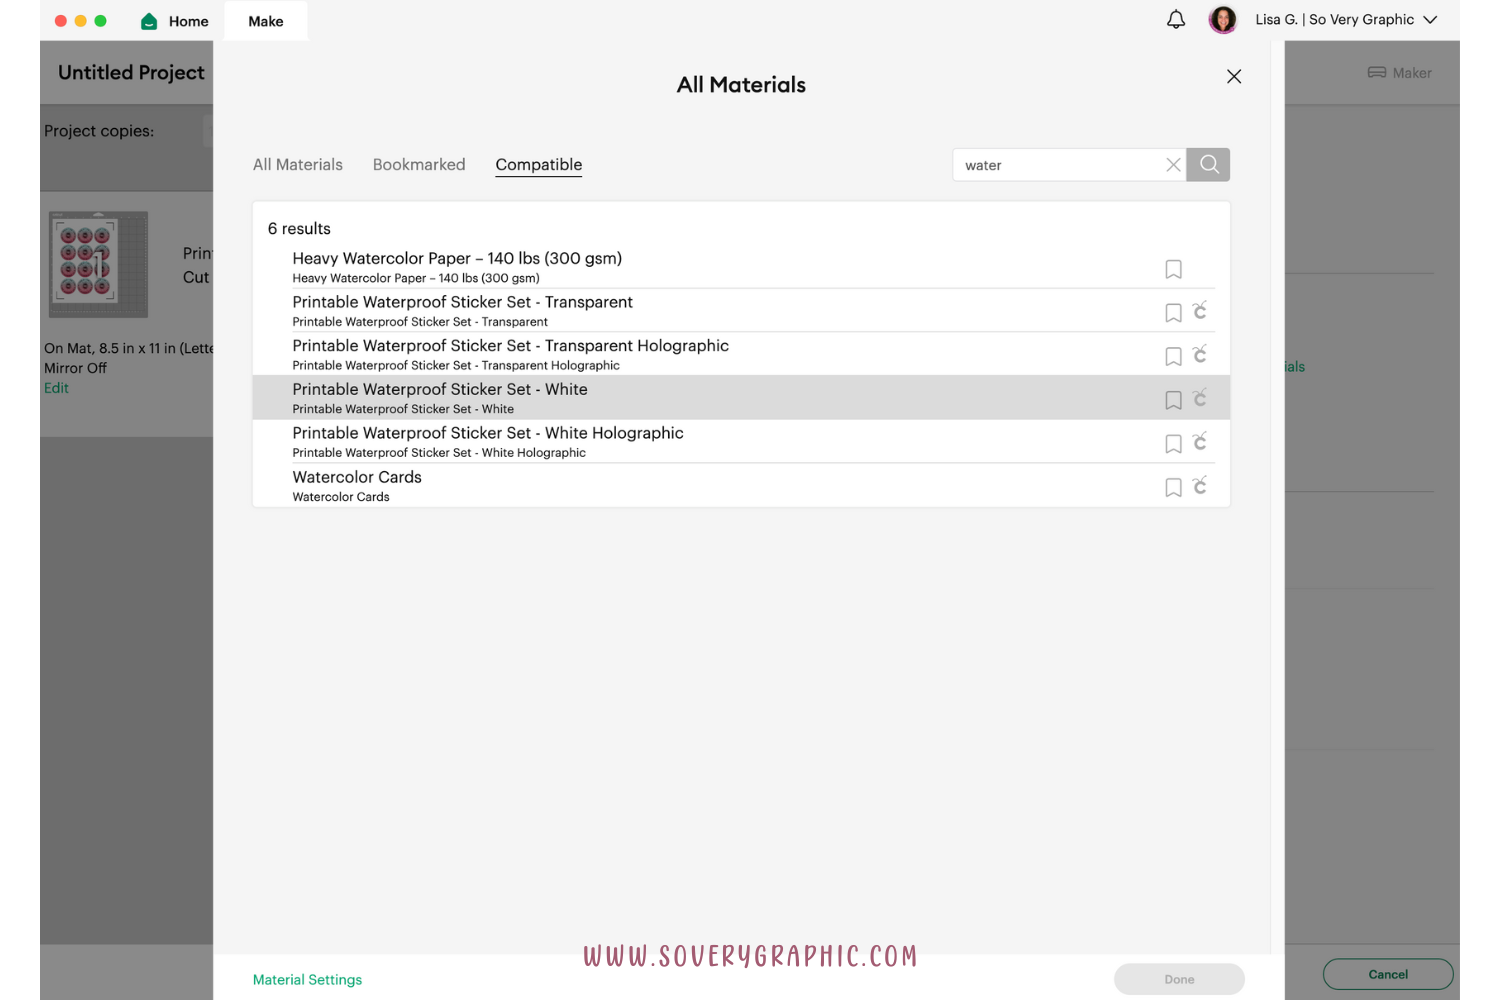
Choose your material - I am using the Cricut Printable Waterproof Sticker Set which is a vinyl sticker sheet with a laminate sheet on top.
Follow the instructions for the Cricut Printable Waterproof Sticker Set and add the laminate to the top of the printed vinyl sheet.

Place the laminated vinyl sticker sheet onto your Cricut mat and load into the Maker. Press Go!
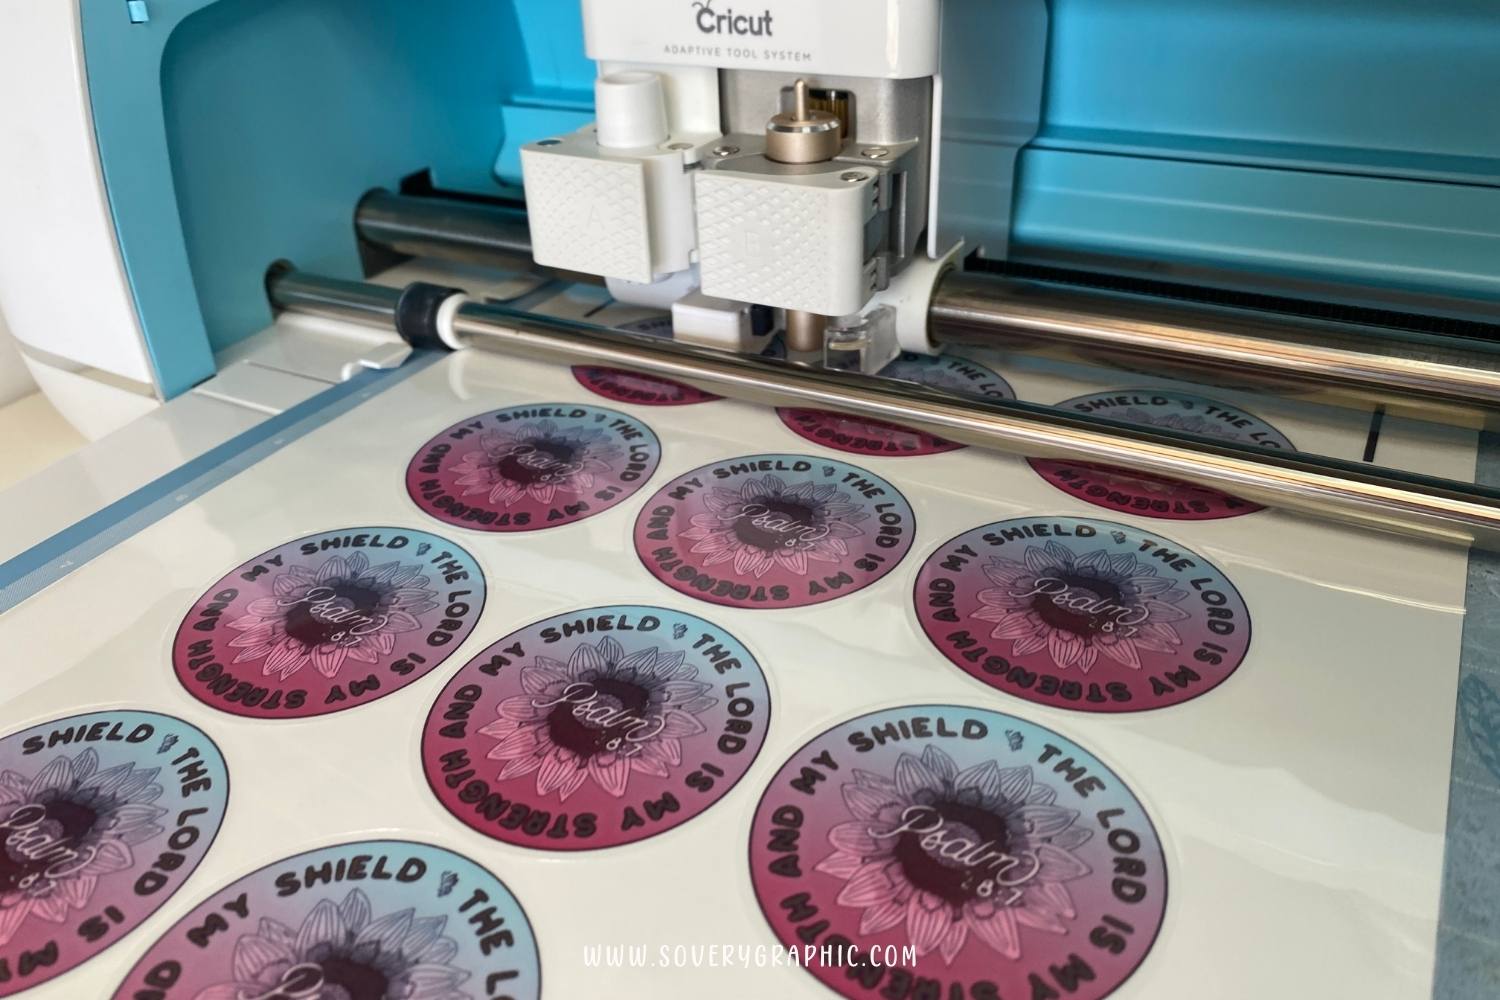
The stickers look amazing and are waterproof! These will be going on tumblers & notebooks.
Save & pin this tutorial on how to create professional stickers at home with a Cricut Maker:


