How to Turn Any Shape Into a Custom Frame in Canva
This post contains affiliate links, meaning that if you choose to click through and make a purchase, I will receive a small commission at no cost to you.
Follow along & learn how to turn any shape into a custom photo frame in Canva. This will allow you to drop your image into your custom frame and will amplify your Canva skills!
This tutorial will show you how to turn your own shape into a custom frame in Canva.
Open a new canvas and click on Elements.
I searched pumpkin as an example. You want to choose a design that is one color (or each colored section will turn into a separate custom frame.)
Choose your design and place it on the canvas. It must be a design that will allow you to change the color.
Download your design as PDF Standard.
Open Microsoft Word and open the pumpkin PDF file.
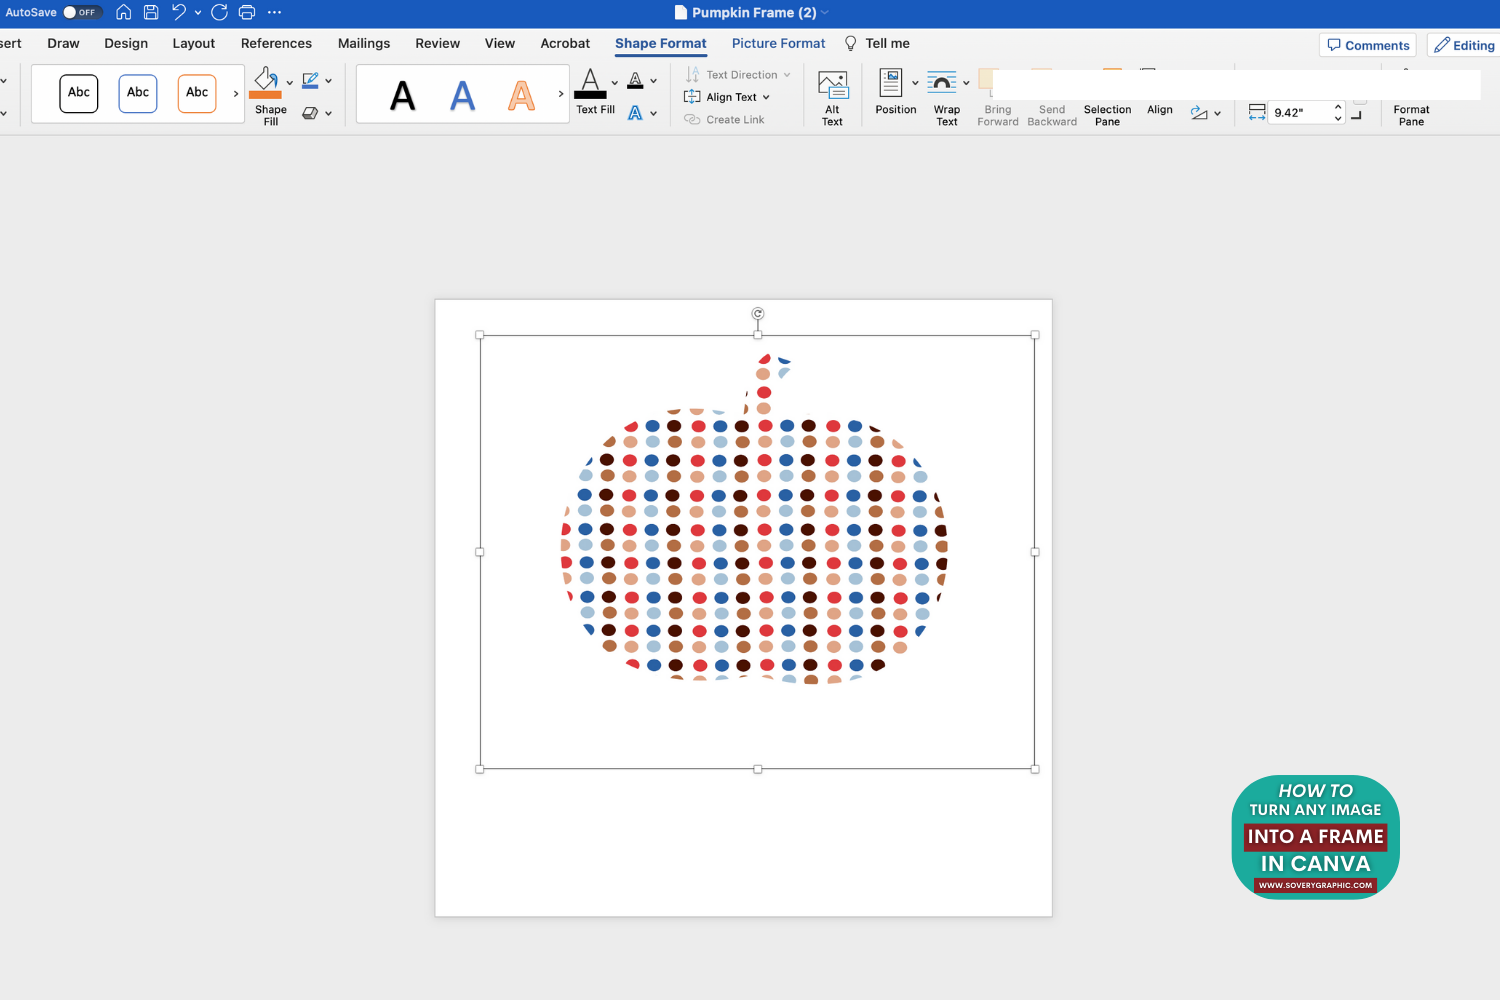
Click on the pumpkin shape and then choose Shape Format at the top of the tool bar.
Choose Shape Fill > Picture and choose any picture or background fill you'd like from your own files. The fill doesn't matter - continue on to see how this image will easily become a custom frame in Canva.
Click File and Save As a PDF on your computer with a new name such as Pumpkin Shape Filled.pdf.
Return to Canva and choose Create a Design > Import File
Open the file and notice how when you hover over the design there are many different shape layers.
Delete each of the shapes to reveal the image place holder behind your shape.
This pumpkin has 2 different areas where a custom image can be inserted - the body of the pumpkin and the stem.
You can now add anything into these shapes - images or videos!
I hope this tutorial was helpful! Now you know how to crop photos into custom frame shapes in Canva.
Leave me a comment below if you have any questions!!


1 comment
Thank you for sharing this awesome tutorial. I love it